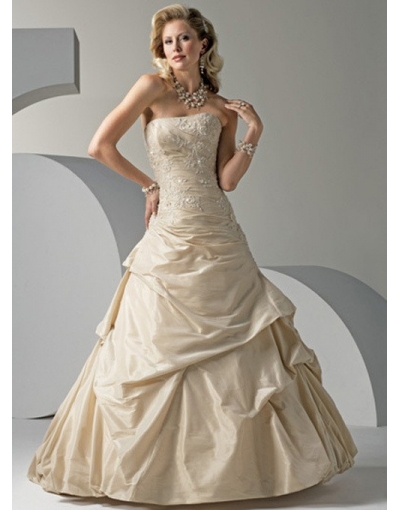
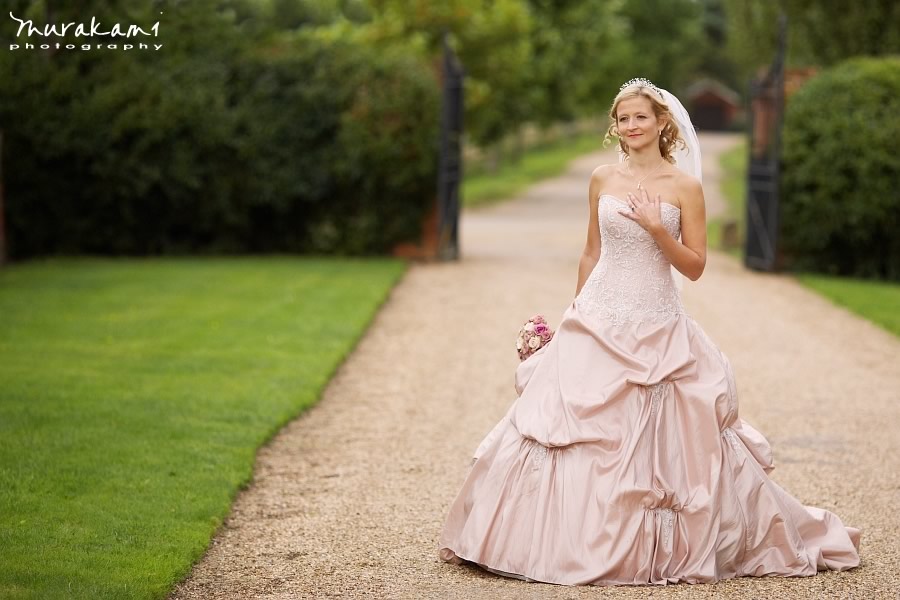
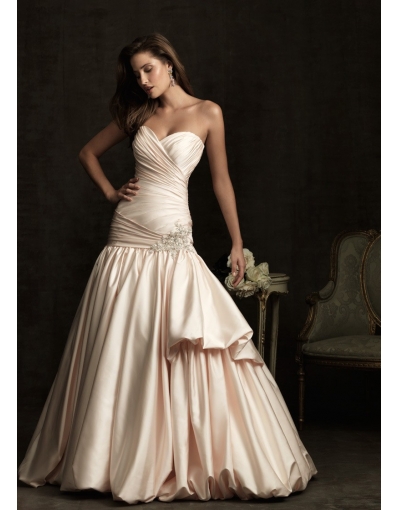
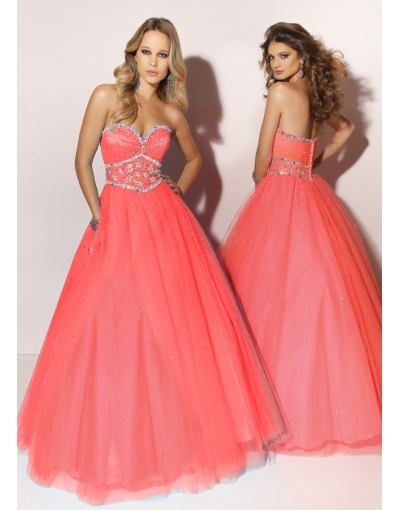
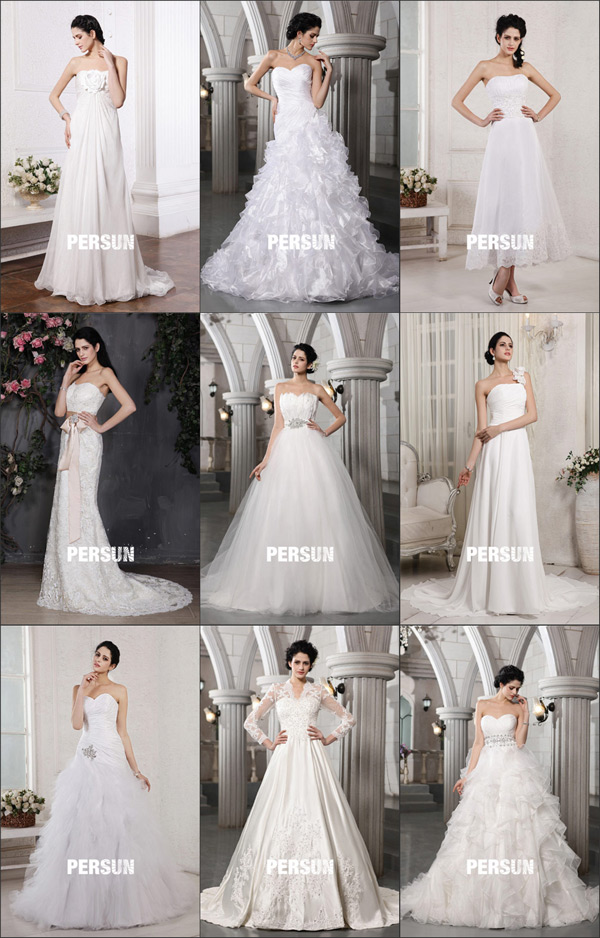
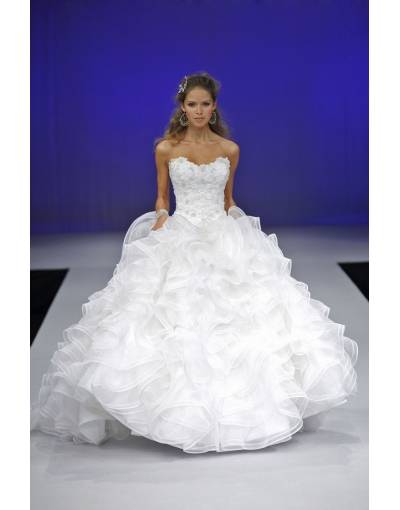
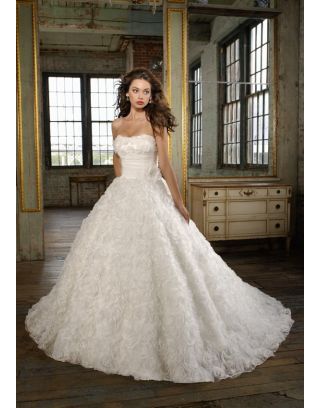
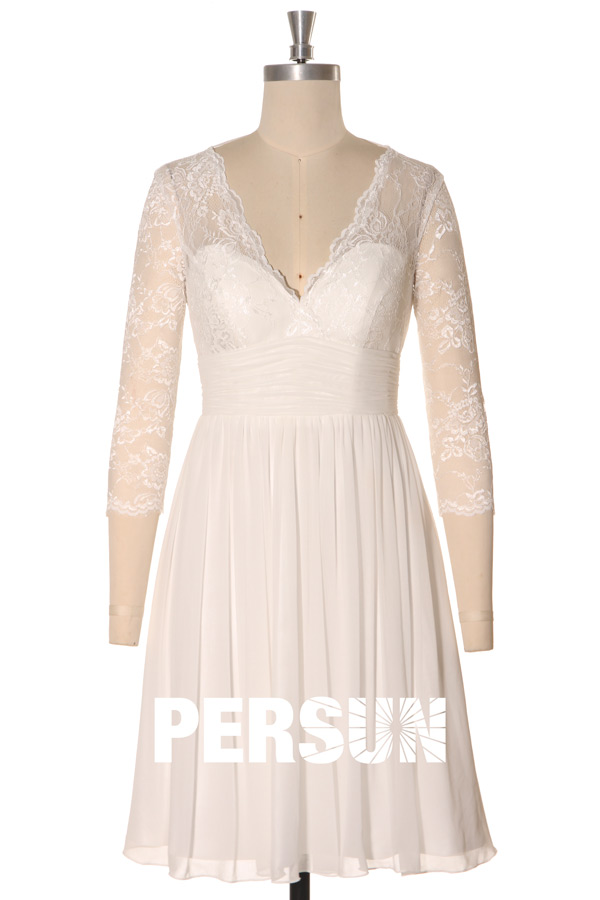
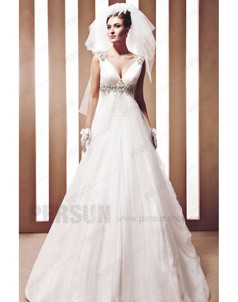
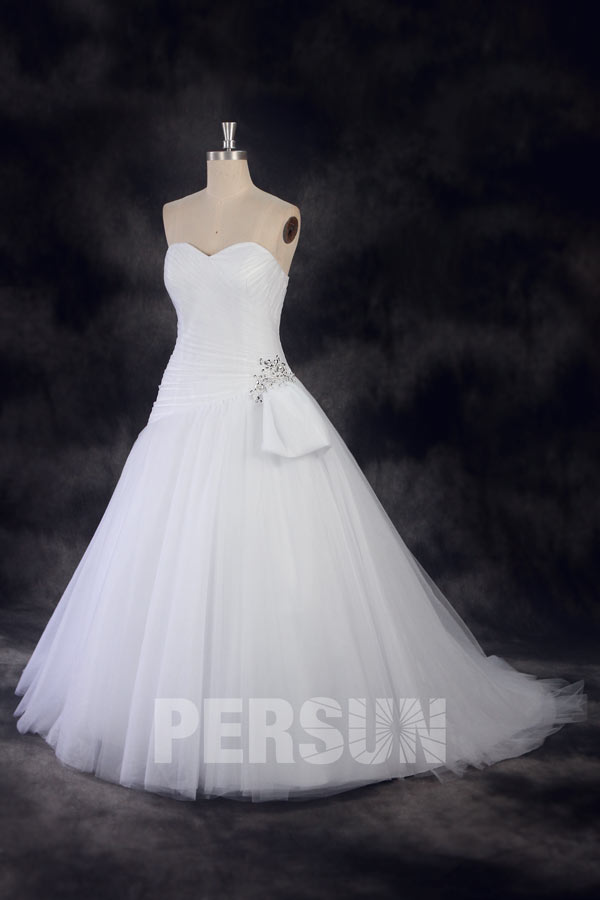
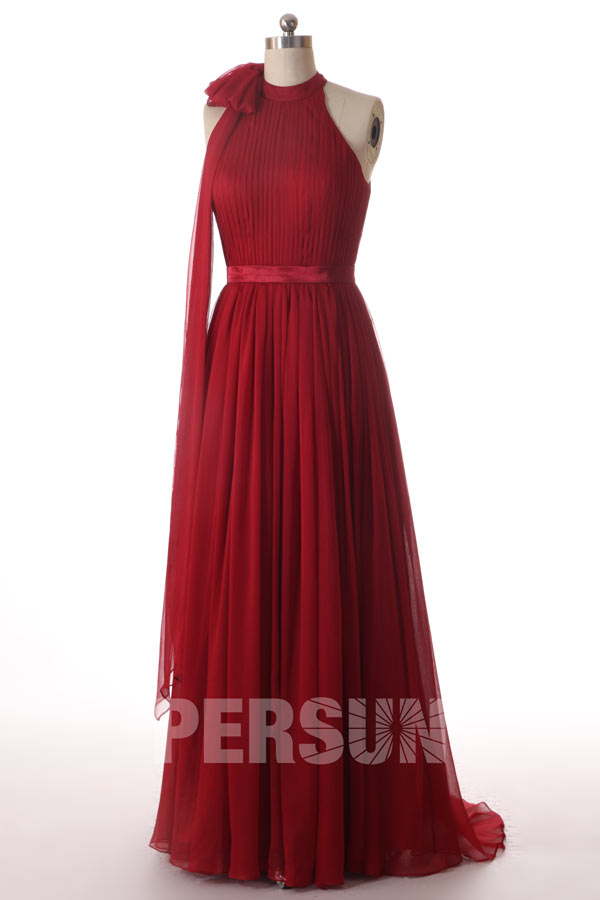
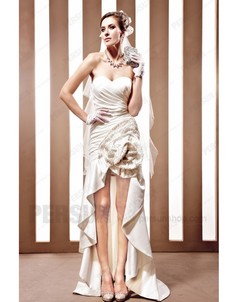
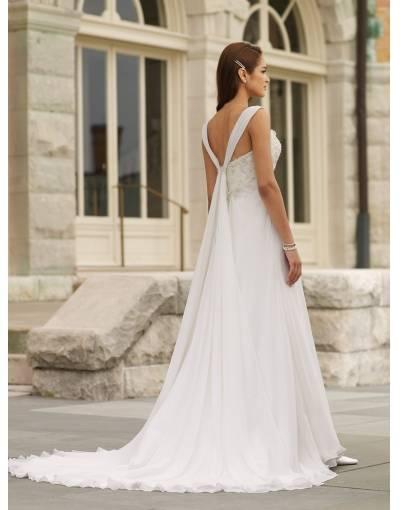
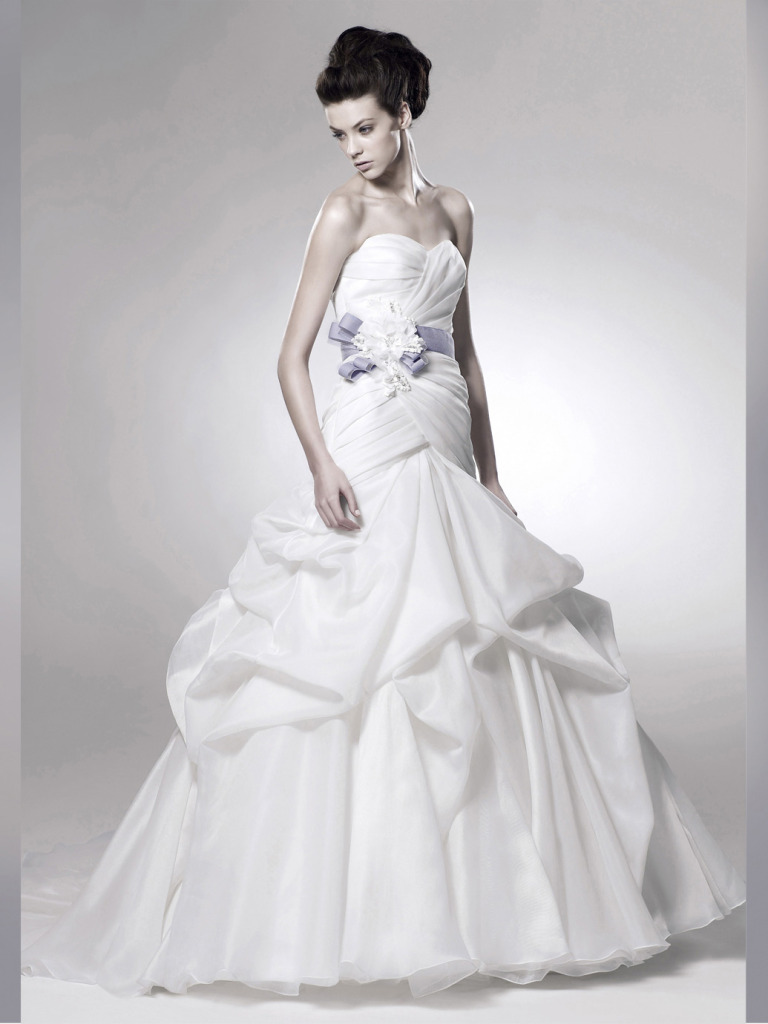
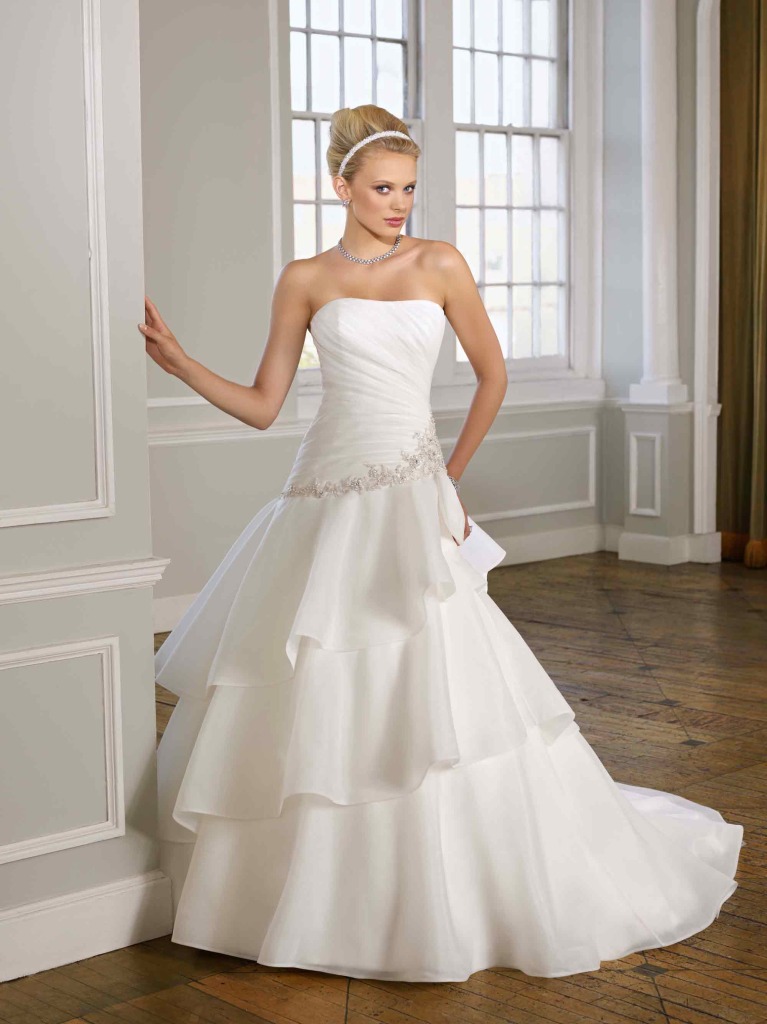
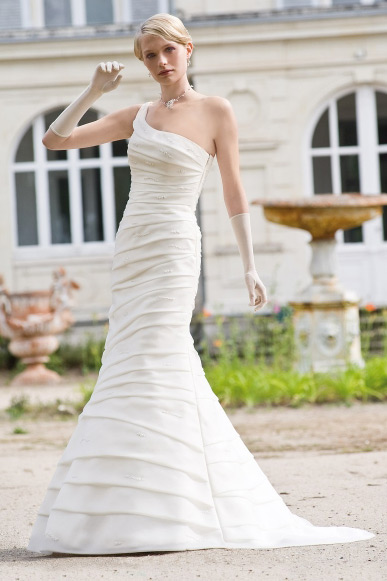
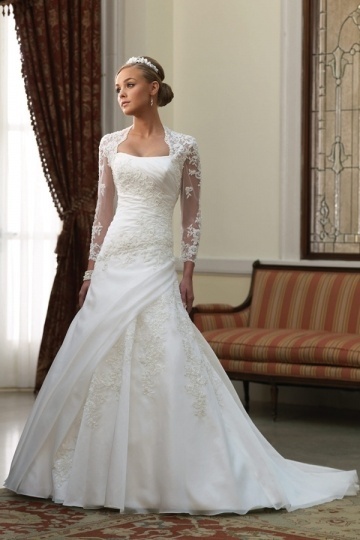
Born in modern times, there is no need worrying that your wedding could be not romantic or big enough, because of the variety of wedding dresses. Feminine lace wedding dress, princess pick up wedding dress, elegant satin wedding dress“¦However, as more and more wedding dress choices, more and more confused we feel. So why not make some embellishment to dress to make your wedding dress unique and meaningful.
Whether you have made the wedding dress yourself or purchased it, adding beads will give your dress a special touch that makes it unique and beautiful. Sewing beads to a wedding dress adds beauty while saving money.
A wedding dress can cost a lot, but doing the bead work yourself saves a lot of money, while increasing the value of the original. While beading your dress can be quite time-consuming, it is not difficult work, so let’s get started.
Step one Select a Simple Wedding Dress and Matched Bead
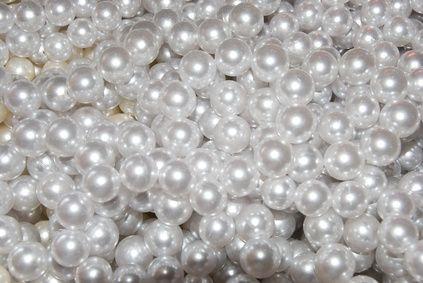
Choose a simple wedding dress and some beads that match or enhance the fabric and lines of the dress. You may want small, white pearls for elegance, cut faux glass or small, clear beads for shine, or small beads in a color that enhances the fabric. For example, if your dress is a pale pink taffeta, you might choose pale pink pearls to blend in or white pearls to draw attention to the lines.
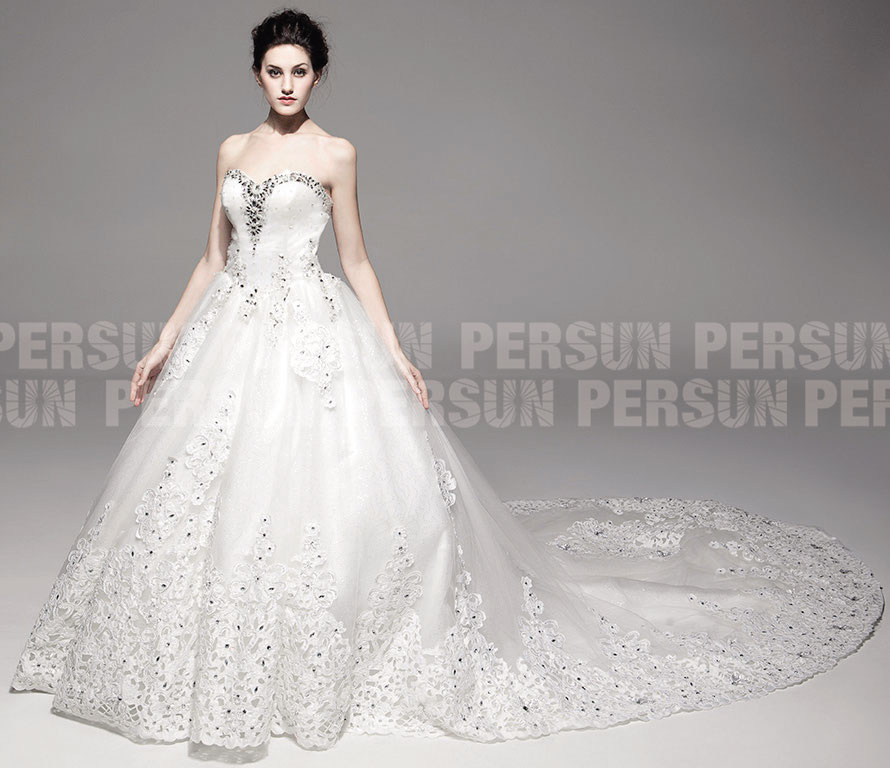
Step Two Beadwork on the bodice enhances the beauty of this dress
Decide where you want to sew beads. Obvious places would be along princess seams to call attention to the elegance of the bodice, around the neckline to create a delicate effect, along the length or width of the sleeve for graceful movement and along the hemline for shimmer.
Step Three Sewing Beads
Sew beads onto the dress one at a time. This may sound tedious, but if a thread breaks or snags loose on the big day, you will lose only one bead, rather than a whole line or cluster. Thread your needle, knot the thread, and poke it through the fabric, starting from the wrong side. Place the bead on the needle and poke back through the fabric in the opposite direction, from right side to wrong side. Make sure you don’t pull the thread too tightly and pucker the fabric. Knot the thread again from the wrong side of the fabric. If the bead is heavy or the fabric is thin enough to rip, place a drop of glue on the knot.
Step Four Make Sure the beading is straight
Create a line of beads by sewing the second bead next to the first, lining up the beads so that the tops and sides are consistent. Your line of beads will look much less impressive if they aren’t straight, so take the time to poke the needle carefully along the same line as the previous bead so that the beads are straight.
Step Five Sewing a drop of beads
If your dress comes to a “V” at the neck or waist, sew a drop of several beads to hang from the “V.” Begin as you would to sew on a single bead, but thread three to five beads on instead, knotting the thread after the last bead so that your drop can move freely. You may want to knot in between beads in case the final knot fails. Choosing a bell-shape for your final bead in the drop allows you a place for glue to make the drop more secure after you knot the thread.
Step Six Beaded Lace Adds a Beautiful Touch
Sew beads onto lace for dramatic sparkle, or if you cannot bring yourself to stick a needle through your beautiful fabric. Choose very light beads for lace so you don’t cause the lace to sag.
See, it is not difficulty job, right? So, pick up the needle and bead to start your “masterpiece”. The beading wedding dress would be your wedding more special and meaning and unforgettable.
